
Solar Panel Bird Mesh Installation Sydney: What A Proper Job Should Look Like
A proper solar panel bird mesh installation should look neat, block the full access route under the panels, and avoid damaging the solar system or roof. It should not look like loose netting, chicken wire, or a quick patch fixed to the easiest edge.
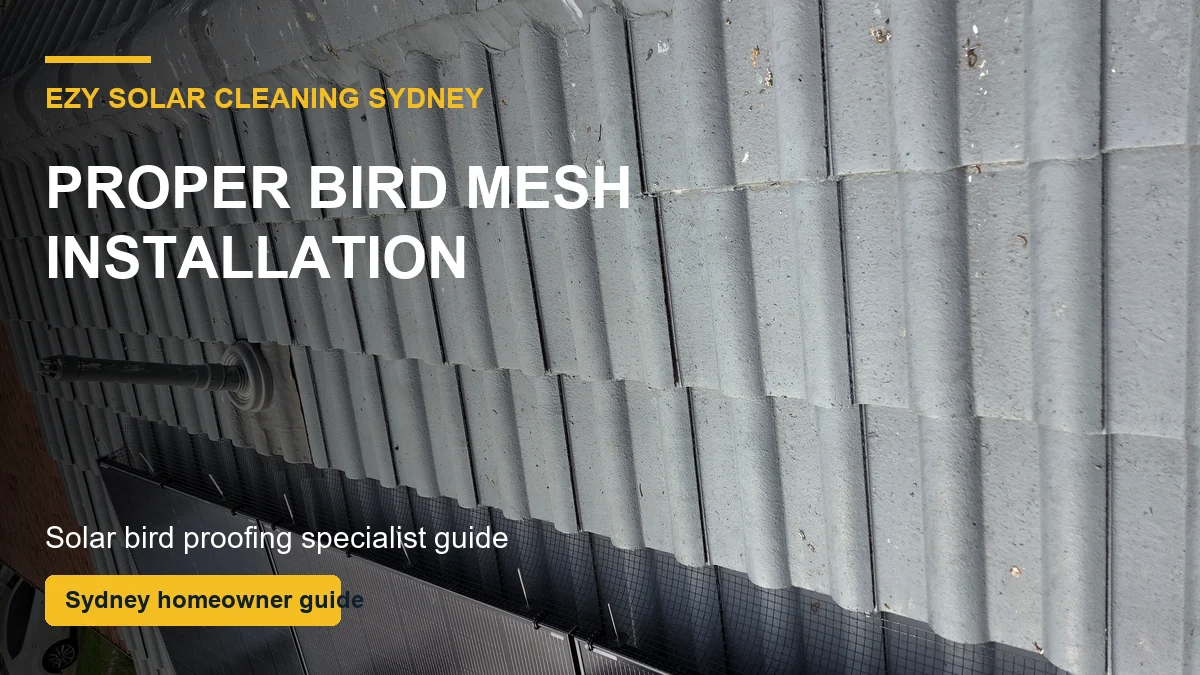
For Sydney homeowners comparing solar panel bird proofing, the quality of the installation matters just as much as the mesh itself.
The mesh should cover the full perimeter
Pigeons only need one entry point. If the front edge is sealed but the rear or side edge is open, the birds may still get underneath. A proper job follows the full exposed perimeter of the solar array.
This includes corners, split panel rows, awkward brackets and areas close to gutters. These are the places where rushed work often fails.
On many Sydney homes, the easiest edge to see from the street is not the only edge that matters. Birds may enter from a side near a gutter, a rear section hidden from view, or a small opening around the mounting rail. A proper job treats the whole array as one system.
The attachment method should be solar-safe
Professional bird mesh should be installed with solar-specific clips. The public-facing rule is simple: no drilling into the panels, no drilling into the roof, no glue and no welding. This keeps the job cleaner and reduces unnecessary risk.
Warranty questions can depend on the manufacturer and the exact installation method, so homeowners should avoid anyone making lazy blanket promises. The safer approach is careful clip-based work.
What a proper job should include
| Feature | What to look for |
|---|---|
| Black PVC-coated stainless steel mesh | Durable material that blends with panel frames |
| Solar-specific clips | Secure attachment without drilling |
| Full perimeter coverage | No side or rear access points left open |
| Tidy corners | Mesh shaped around tricky areas |
| Nest and debris removal where required | Old mess cleared before the barrier is finished |
| Before and after photos | Proof of what was found and how the job finished |
The finish should be tight and tidy
A good installation should sit neatly along the panel edge. It should not sag, flare out, or leave sharp-looking pieces sticking up. The goal is a finished edge that looks intentional and blends into the solar array.
If you are still comparing mesh to other products, read the Sydney guide on solar panel bird mesh vs spikes. Around solar panels, closing the gap is usually more important than stopping birds from landing in one small spot.
The job should deal with what is already there
If birds have nested, there may be old sticks, feathers, droppings and other debris under the panels. Installing mesh over an active mess without considering clean-out can leave the homeowner with a roof that is blocked off but still dirty.
The amount of clean-up depends on the condition of the roof. Some jobs are straightforward. Others reveal a lot more hidden material than the homeowner expected.
This is one reason photos are helpful. They show whether the issue was only light activity or whether the roof had a larger hidden build-up. That context helps the homeowner understand the value of the work beyond the visible strip of mesh.
Photos are useful, not just nice to have
Most homeowners cannot see under their panels from the ground. Before and after photos help show whether nesting material was removed, whether the mesh follows the perimeter, and whether the finished job has obvious gaps.
Photos also help you compare workmanship. A neat installation usually looks simple because the hard parts have been handled properly.
How to judge the quote
When comparing quotes, ask what material is used, whether the whole perimeter is covered, whether clips are solar-specific, whether clean-out is included where needed, and whether photos are provided. The Sydney pricing page can help with the cost side, but the scope of work is what tells you whether the job is complete.
Be careful with quotes that sound cheap but do not explain the method. The risk is not just paying too much or too little. The risk is paying for something that looks finished for a short time but still lets birds under the panels later.
A proper installation should stop birds getting underneath, look clean from the ground, and give you confidence that the roof has been handled carefully. For service details, use the Sydney bird proofing page.
FAQs
What should solar panel bird mesh installation include?
It should include full perimeter mesh, solar-specific clips, neat corners, no drilling, and clean-out where required.
Does the mesh go around all panels?
It should cover the exposed perimeter of the solar array so birds cannot enter from another edge.
Should panels be removed for bird mesh?
Panels usually do not need to be removed for most residential bird mesh installations, but the exact job depends on access and layout.
Why are before and after photos useful?
They show what was found under the panels and whether the mesh was installed neatly with no obvious gaps.
Can poor installation fail?
Yes. Weak materials, wrong clips, loose corners or missed edges can let birds back underneath.